
An A-Peeling Way To De-Stress
Little known fact about me is that I really enjoy arranging things in concentric circles and I really enjoy beautiful baked goods. It’s something about my own internal organizational instincts and sense of beauty.
That is why this tart appealed to me (pun intended!) I enjoyed making it for Thanksgiving. It helped me de-stress to create those perfect little rounds and rounds and rounds. Let me know if you make it and I hope you you enjoy it too!
-Kristina Badalian
Rose Apple Tart
By Yossy Arefi (YIELDS 8 to 10 servings; TIME 2 1/2 to 3 hours)
Joseph De Leo for The New York Times. Food Stylist: Monica Pierini.
This striking tart is all about the apples, and — believe it or not — it’s fairly simple to make. The crust is the pat-in-the-pan variety, and a mandoline makes quick work of slicing. For the most beautiful results, use firm tart apples with red or pink skin like Honeycrisp, Empire or Cortland, and stand the slices up vertically, rather than laying them flat. This tart is best the day it's made, but the shell can be made a day in advance, if you’d like to break up the work a bit. If you keep vanilla sugar in your pantry, this would be a great place for it. A sprinkle of cardamom wouldn’t hurt either. However you choose to embellish, make sure to use a smooth apricot jam, rather than chunky preserves, for a smooth finish.
FOR THE TART:
1 ½ cups/190 grams all-purpose flour
½ cup/65 grams confectioners’ sugar
¾ teaspoon kosher salt
10 tablespoons/140 grams cold unsalted butter (1 1/4 sticks), cut into 1/2-inch pieces, plus more for greasing the pan
1 egg yolk
½ teaspoon vanilla extract
2 tablespoons cold water, as needed
FOR THE FILLING:
3 medium crisp, tart apples like Honeycrisp, Empire or Cortland (about 1 pound)
¼ cup/50 grams sugar
1 tablespoon all-purpose flour
3 tablespoons unsalted butter, cut into 1/2-inch pieces
Large pinch of kosher salt
FOR THE GLAZE: 3 tablespoons smooth apricot jam

PREPARATION: Make the crust: Combine the flour, confectioners' sugar and salt in the bowl of a food processor fitted with the steel blade. Pulse a few times to combine. Scatter the butter pieces on top, and pulse until the butter is the size of small peas. Add the egg yolk and vanilla extract, and pulse until incorporated. Pulse in the water, about 2 teaspoons at a time, until the dough starts to hold together. It will appear to be a bit crumbly, but should hold together easily when pressed.
Lightly butter a 9-inch tart pan with a removable bottom, and pour the dough mixture into it. Press the mixture evenly on the bottom and up the sides of the pan. (Use a lightly floured straight-sided measuring cup to help press the dough into the corners of the pan.) Reserve extra dough to repair any cracks after the shell is baked.
Freeze the formed dough in the pan until completely firm, about 30 minutes. Meanwhile, heat oven to 375 degrees.
Line the tart shell with a piece of aluminum foil, making sure to tuck it into the corners and over the edges. Bake the shell for 20 to 25 minutes or until the dough appears dry and lightly golden. If the dough puffs up while baking, gently press it back into the pan with an offset spatula or similar tool. If necessary, repair any cracks with the remaining raw dough. Cool slightly while you prepare the apples.
Cut the apples from their cores in 3 pieces: Stand the apples up, with the stems facing up, and, using a sharp knife, cut 1 face of the apple, then rotate the apple about 120 degrees, slice again, and finally slice the last piece from the core. You should have a triangle-shaped piece of core left and 3 pieces of apple with flat bottoms.
Reserve a smaller piece of apple, and carefully slice all the other apples into very thin half-moons, about 1/8-inch thick. (A mandoline makes this move quickly, but, if you are using a knife and working slowly, it’s a good idea to squeeze a little bit of lemon juice over the sliced apples to prevent browning.) Make sure to keep the slices together as you cut to make the assembly easier.
Once the apples are sliced, build the tart: Sprinkle 1 tablespoon flour and 1 tablespoon sugar on the bottom of the blind-baked tart shell. Starting at the outer edge, arrange the apples in tight concentric circles, overlapping each slice about halfway over its neighbor. Take care to stand the apples up vertically, with the cut edges down and the peel edge pointing up. Pack the rows very tightly, stopping periodically to check your work.
As you move toward the center, the apples will become trickier to bend into place. If you find the slices are breaking, slice the reserved piece of apple even thinner to make it easier to bend. Roll the last few slices into a circle and tuck it in the center.
Sprinkle the remaining 3 tablespoons sugar and a pinch of salt over the apple slices. Take care to sprinkle the sugar between the apple slices, rather than on top. Scatter the butter pieces on top, and bake the tart for 40 to 45 minutes or until the apples begin to brown just slightly on the edges and the crust is a deep golden brown. Check the tart periodically to make sure the shell is not over-browning at the edges. If it is, cover the edges with foil.
Cool the tart on a rack for about 10 minutes, then prepare the glaze: In a small saucepan, warm the jam and a few drops of water over medium-low heat until it is runny. Use a pastry brush to very gently brush the warm tart with jam. Avoid brushing jam on the crust, but a thin layer all over the apple slices. Serve warm or room temperature.

Food for Thought: Oatmeal
You might not think oatmeal is the most exciting food, but I gave it serious thought while hunkered down during the last few months. Like others, I forced self-care on myself and gave my eating habits a reboot. Dining out is convenient but empty calories leave me feeling hungry and reaching for sugary or salty snacks later in the day. As we get back to work, I’ve incorporated guilt-free oatmeal in my breakfast and mid-day snacks. Here are two recipes that you might enjoy. - Roz
Overnight Oats
I love breakfast but I hate preparing it, especially during the week when I am rushing to the office early in the morning. To further complicate my relationship with breakfast is the fact that I may not be ready to eat it until an hour or so after I get to the office when my body wakes up. Overnight oats are a great solution. I throw it together the night before and let the oats sit in almond milk. The next day, I take it with me to the office, pop it in the microwave when I’m ready for breakfast and it keeps me full for most of the morning. There is no cooking over the stove top and the possibilities are endless.

Here, I added in a microwavable glass bowl rolled oats with chopped dates, shredded coconut, chia seed, flaxseed and honey. Add almond milk the night before, give it a stir and leave it in the fridge overnight.
To one half cup of rolled oats, I add a tablespoon of the following: flaxseed, chia seed, and honey. You can add any other toppings you like such as chopped nuts or dried fruit. I then add about a cup of almond milk (you can use regular milk or coconut milk), give it a stir and place it in the fridge overnight. In the morning, you will see that the oats and other ingredients have soaked the milk. Sometimes I top it off with more almond milk to give it the consistency I like.
5 Ingredient Granola Bars by the Minimalist Baker
I am a big fan of the Minimalist Baker because the recipes incorporate whole foods and are relatively quick to make. Any healthy recipe that saves time and allows me to store the final product for the week is a winner in my book. Take a few bars with you to the office and keep your hunger at bay during the mid-morning and afternoon. Here is the recipe reproduced below (click on the heading for full recipe details).
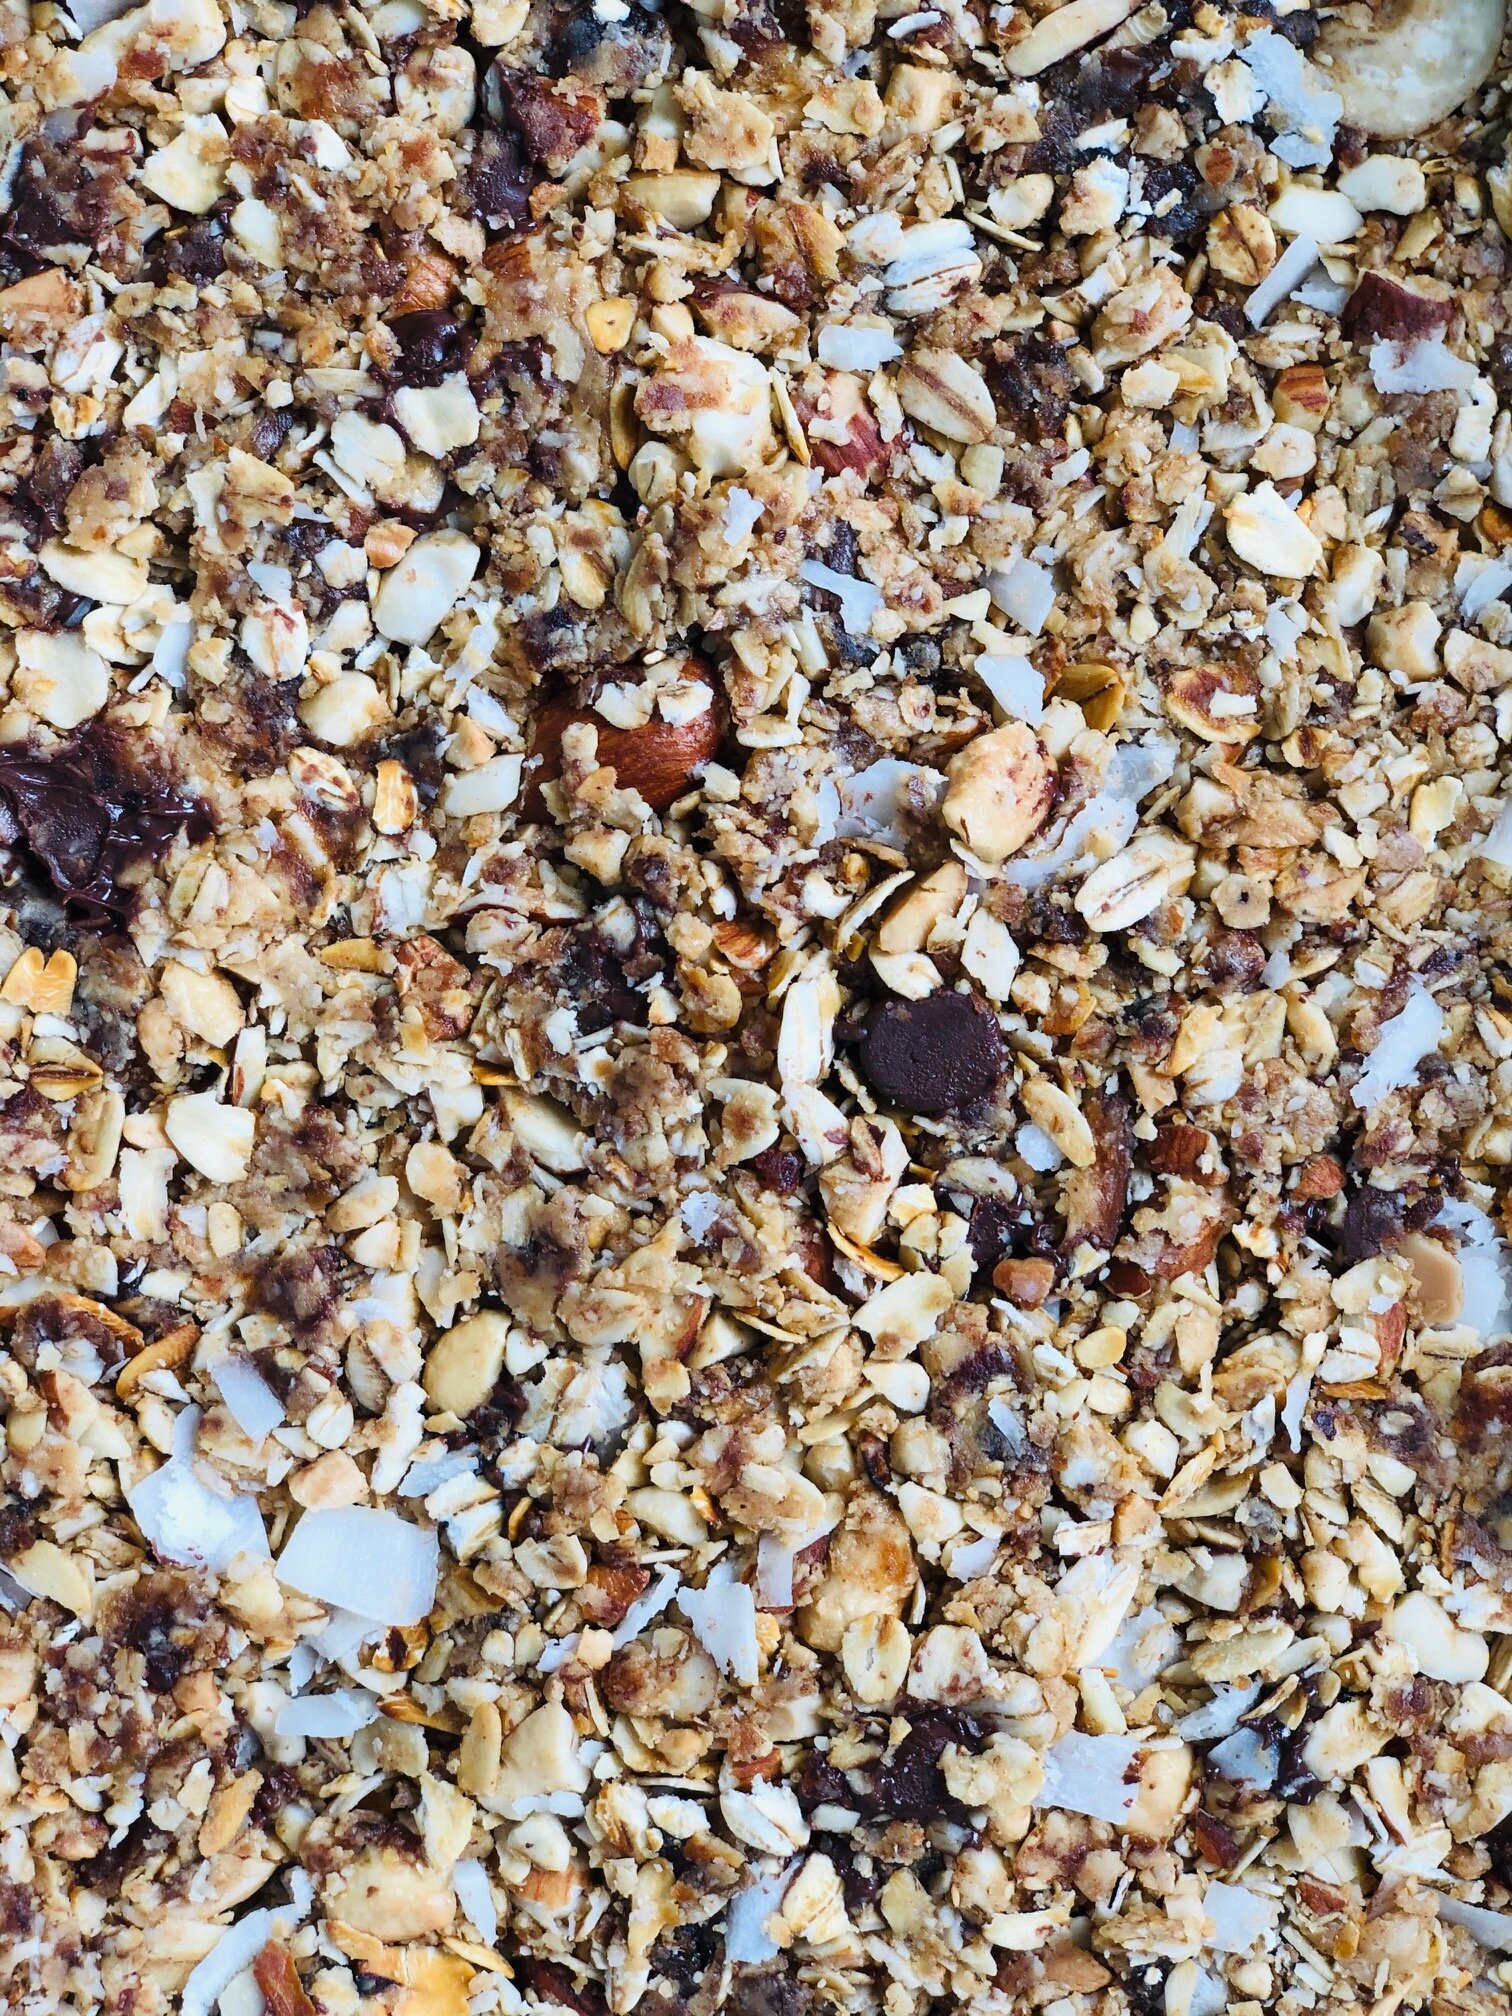
All the ingredients combined and ready to pop in the freezer/fridge. I threw in some shredded coconuts and chocolate chips. I highly recommend toasting the oats and nuts before combining all ingredients.
Ingredients:
1 heaping cup packed dates (pitted / deglet noor or medjool)
1/4 cup maple syrup or agave nectar (or honey if not vegan)
1/4 cup creamy salted natural peanut butter or almond butter
1 cup roasted unsalted almonds (loosely chopped)
1 1/2 cups rolled oats (gluten-free for GF eaters)
Chocolate chips, dried fruit, nuts, banana chips, vanilla, etc. (optional additions)

Here is what my finished product looked like. It tastes as good as it looks!
Instructions:
Process dates in a food processor until small bits remain (about 1 minute). It should form a “dough” like consistency.
Optional step: Toast your oats (and almonds if raw) in a 350-degree F (176 C) oven for 10-15 minutes or until slightly golden brown.
Place oats, almonds and dates in a large mixing bowl – set aside.
Warm maple syrup (or agave or honey) and peanut butter in a small saucepan over low heat. Stir and pour over oat mixture and then mix, breaking up the dates to disperse throughout.
Once thoroughly mixed, transfer to an 8×8-inch baking dish or other small pan lined with plastic wrap or parchment paper so they lift out easily. (A loaf pan might work, but will yield thicker bars / adjust size of pan if altering batch size).
Press down firmly until uniformly flattened.
Cover with parchment or plastic wrap, and let firm up in fridge or freezer for 15-20 minutes.
Remove bars from pan and chop into 10 even bars (or 9 squares / as original recipe is written). Store in an airtight container for up to a few days.